How to create, save and reopen a Pandat workspace?
1. Create a new workspace
There are three options to create a new workspace. Click the “new workspace” on the start page, or click the ![]() icon, or click the menu “File -> create a new workspace“.
icon, or click the menu “File -> create a new workspace“.
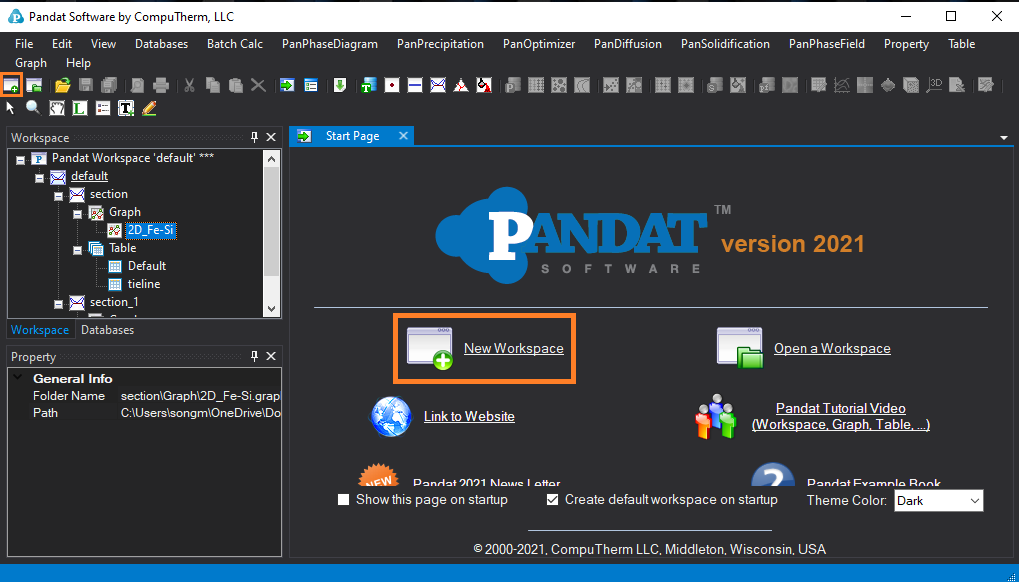
Figure 1. Create a new workspace
Then, a new “create a new workspace” window will pop-up. click “Create” and a new default workspace will be created in the default temporary folder. You can also uncheck the “Create workspace in a default temporary folder”, and then select another folder to save the workspace.

Figure 2. Select proper module and create a new workspace.
2. Save workspace
Now the new workspace is created. You can start calculations using this module now and all the simulated results will be listed under this project. If you decide to save your workspace, you can do it at any time.
Go to the file menu and select the “save current workspace as” menu item
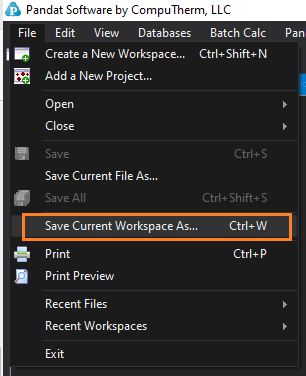
Figure 3. Save workspace.
3. Reopen a saved workspace
You can reopen a saved workspace later from the file menu, click “open” and select the “workspace menu” item.
You can also reopen a saved workspace by click ![]() icon in the toolbar.
icon in the toolbar.
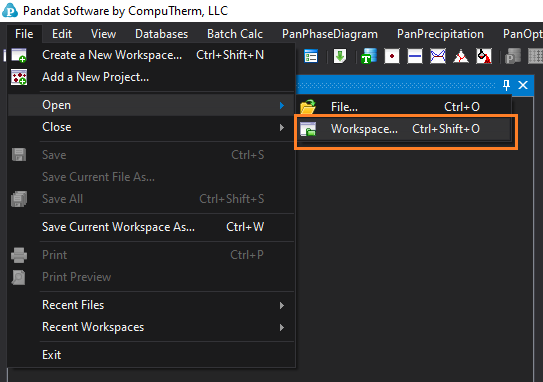
Figure 4. Open workspace
4. Workspace files
After you saved a workspace, you will find besides the .pndx file, there are some other one or more folders next to the .pndx file. These folders contains all the files needed for the workspace. Actually, each folder represents one project in the workspace. The calculated table and figure files are saved in these subfolders. So the .pndx file should be always kept together with these folders, and when you reopen the workspace, all the results will be opened as well.
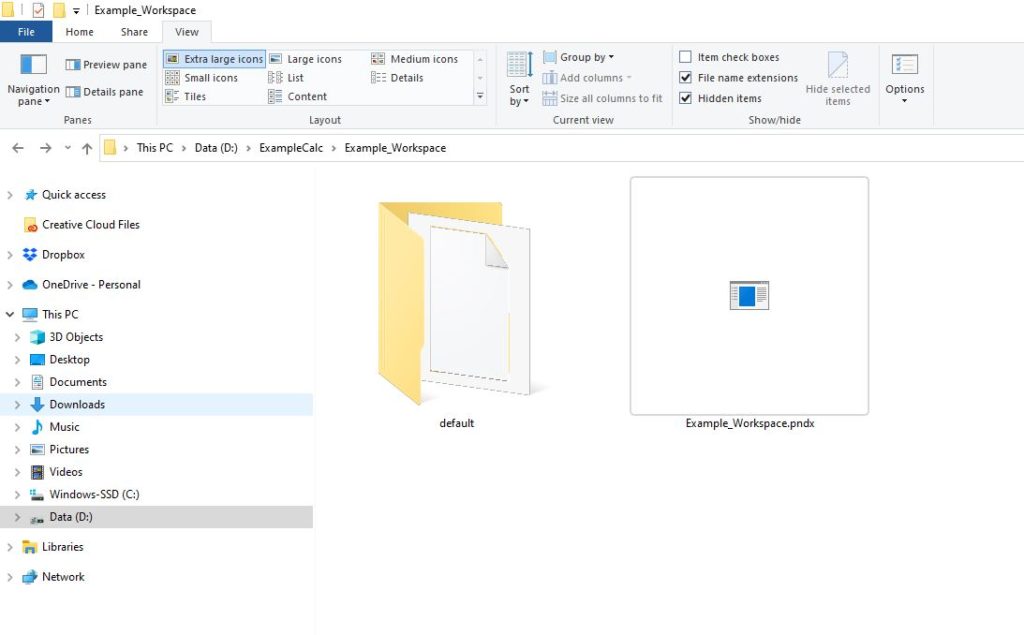
Figure 5. Workspace pndx file and the corresponding folders.